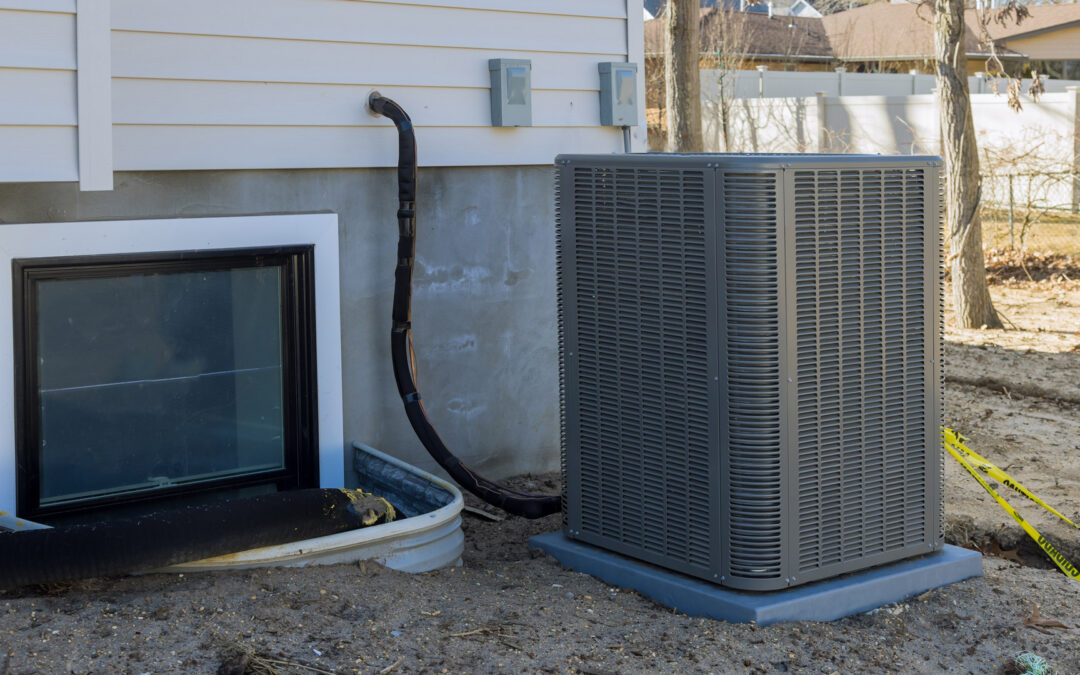
A frozen AC unit can be a common problem, especially in the summer when the unit is in constant use. Identifying the problem early can save you not only from the heat but also from high energy costs. While a lot of these problems require a professional, there are a few things you can try yourself before calling us.
Diagnosing the Problem
First, check the interior for any ice build-up. Generally speaking, you’re looking for mounds of white or off-white frost inside your unit. In severe cases, you’ll find ice buildup outside the unit or the pipes. If there are none, you should contact us through our website as soon as possible.
Causes & Solutions
Below are some common causes and solutions you might run into while troubleshooting a frozen AC unit.
Old Air Filter
Filters trap dust, pollen, and other particles to prevent them from accumulating and damaging your unit. Additionally, they keep the air clean by reducing airborne allergens. Over time, these particles build up in the filter screen, restricting airflow, which means less warm air gets into the unit, causing ice to build up. To avoid these problems, it is recommended that you change your filters. Here are some signs that your filter needs to be changed.
- Dust buildup around air vents
- Takes a longer than normal time to heat or cool the area
- Higher energy bills
- The unit is hot (not just warm) to the touch
- You can’t remember the last time you’ve changed it
Filters need to be replaced every 3-6 months, depending on their type and usage. Luckily, this is an easy task that requires a few tools and a little knowledge.
Changing Your Air Filter
- Turn off the unit
Keeping the unit on while changing the filter might allow particulates to get through and damage the system. If you have a window unit, unplug it. If you have a central-air system, locate the breaker and switch it off (Be aware breakers regulate the electricity for multiple outlets and even rooms. Turning off the breaker may turn off other devices.) - Locate the air filter
You can usually find the filter easily near your furnace. You’ll see it behind a grate or grill. It will be dusty if it needs replacement. - Remove the filter
Each model is different, but there should be a way to remove a small cover and access the filter to remove it. Around the edge, you should see an arrow or a series of arrows. This indicates the direction of airflow the filter was designed to accommodate. Take a picture, draw an arrow on the unit, or whatever helps you remember the direction. - Replace the filter
Air filters can be made using several different materials, such as fiberglass, UV, pleated paper, and so on. Note the type and size of air filter you currently have and try to buy something similar.
Once you have your new filter, repeat the removal process and replace the filter, making sure the arrows on the new filter point in the same direction as the old one. Replace the cover, ensuring it closes easily and securely back into place. Turn the unit back on. It should operate normally now. - Some things to note
As the system returns to normal, the ice buildup will begin to thaw. A small amount of ice will simply evaporate without a problem, but you may have leakage with a more serious buildup. Place some absorbent fabrics around the unit in case this happens to avoid puddles which may damage wooden floors, linoleum, etc.
Closed or Blocked Returns
Central air units use ventilation ducts to distribute warm or cool air through the building. Vents release air into the building while returns draw air into the system for reheating or cooling. During the summer months, warm air keeps the unit from accumulating ice, while cooler air in the winter helps keep the unit from overheating. However, if these returns are closed or obstructed, air cannot return to the unit. So, make sure all the returns are open and clear. If you’re having trouble telling a vent and a return apart, vents can be closed, usually by a switch or knob on the vent itself. Returns cannot be closed.
The Unit is Set Too Low
Every AC unit has a minimal operating temperature of approximately 67°F(~19°C). If the unit is set too low, it may begin to build up ice. The solution is straightforward; set the unit from Auto to On or Fan. This will allow warmer air to circulate through the system to thaw it out. Setting the unit to On will also help the water evaporate more quickly. Place towels around the unit in case of leakage.
Dirty or Damaged Ventilator Coil
The ventilator coil looks like a radiator and sits in the front of the unit and plays a crucial part in the air conditioning process. As outside air is drawn into the unit, a refrigerant, usually freon, is pumped into the coils where it absorbs heat. The cool air is then circulated back out and the freon flows into another part of the unit to cool off before being circulated again.
A damaged or dirty ventilator coil reduces the unit’s ability to draw in air, making the unit heat up, which can lead to faster cycling times (the unit is “turning off and on again” frequently), warm air from the unit, and odd sounds as the unit strains to draw air in.
Don’t try to clean them yourselves, unless you know what you’re doing. The fins are fragile and easily bent. Bent fins not only reduce the unit’s overall performance but can shorten its lifespan.

